So my wife was making some crafts the other day, and I wandered in and starting annoying her, so she made me do a project. And here's the result!
A nice little Quetzalcoatlus! Or Hatzegopteryx.
Whichever strikes your fancy.
Quite a servicable pterosaur if I do say so myself! I took a few photos of the process if you'd like to make one yourself and need to see it step-by-step. The only things I used were clothespins and a hot glue gun. Feel free to edit this process in any way you see fit. If you change the manner of attaching the pieces together, make sure the glue or whatever you use is relatively strong. You don't your pterosaur to collapse on itself!
Now on to the assembly. First the head:
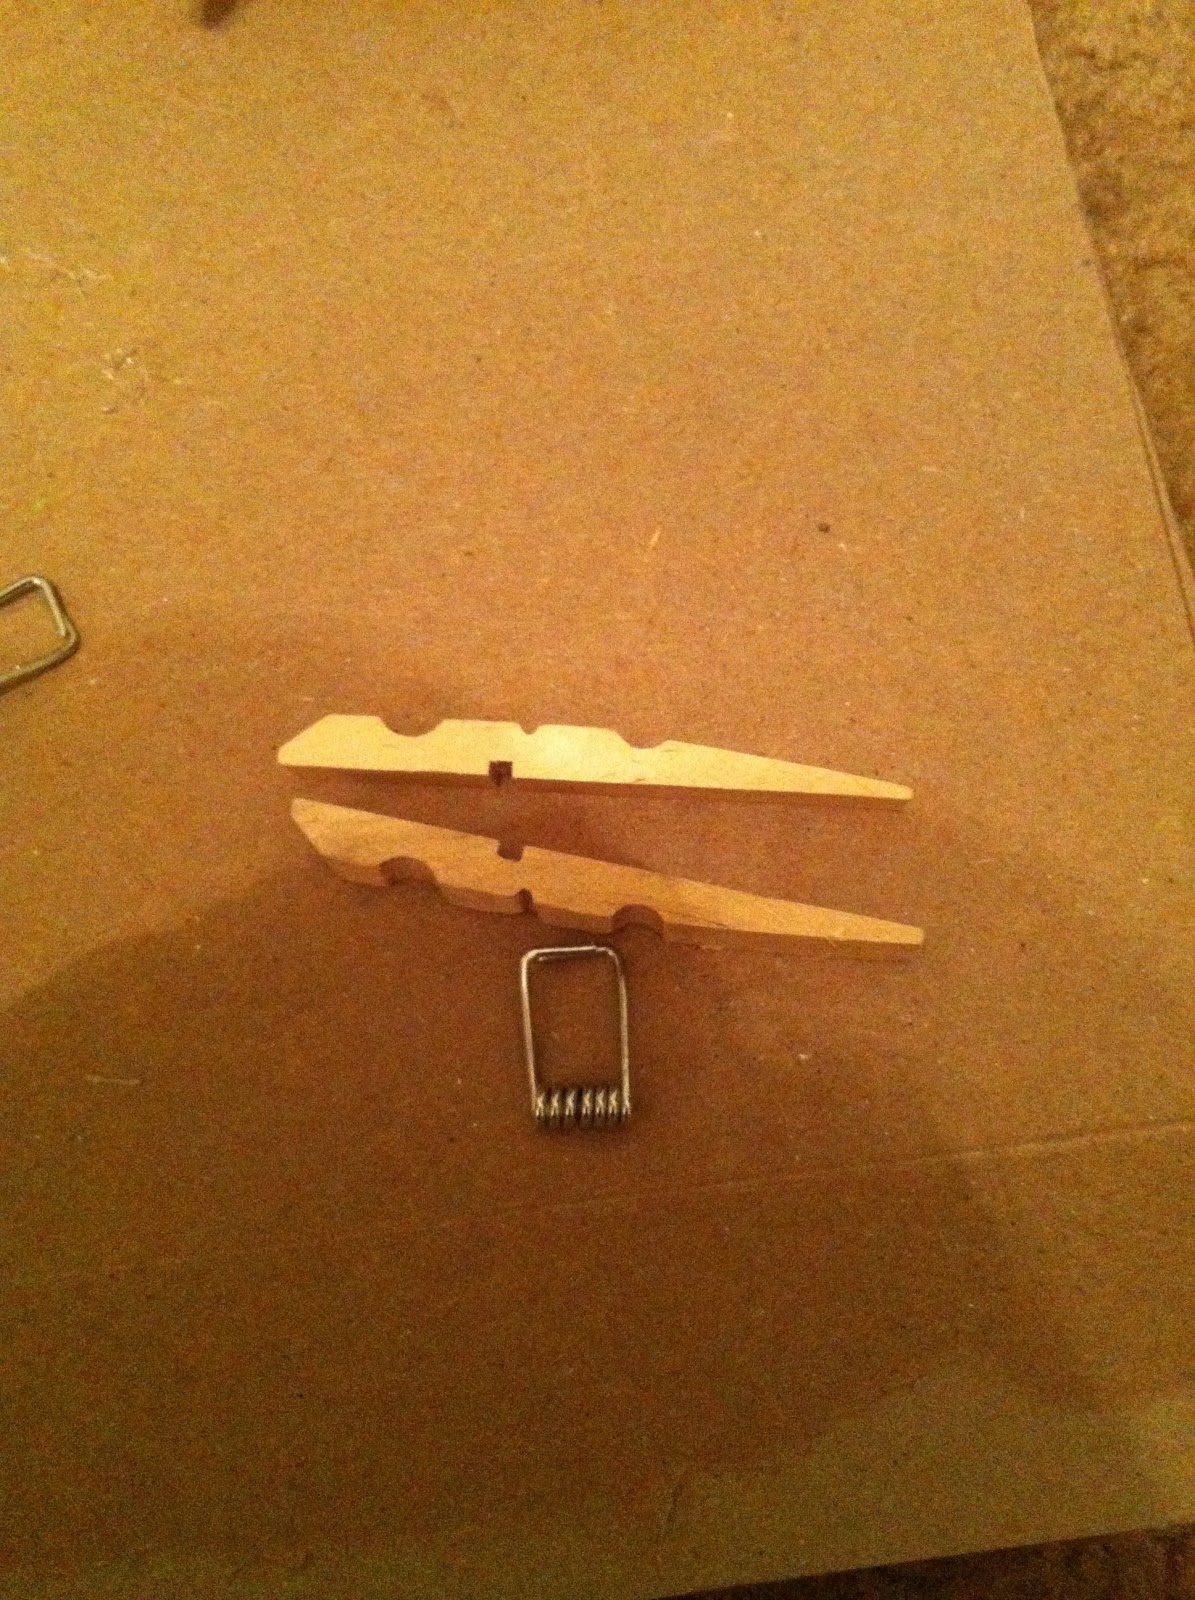
First: disassemle a clothespin...
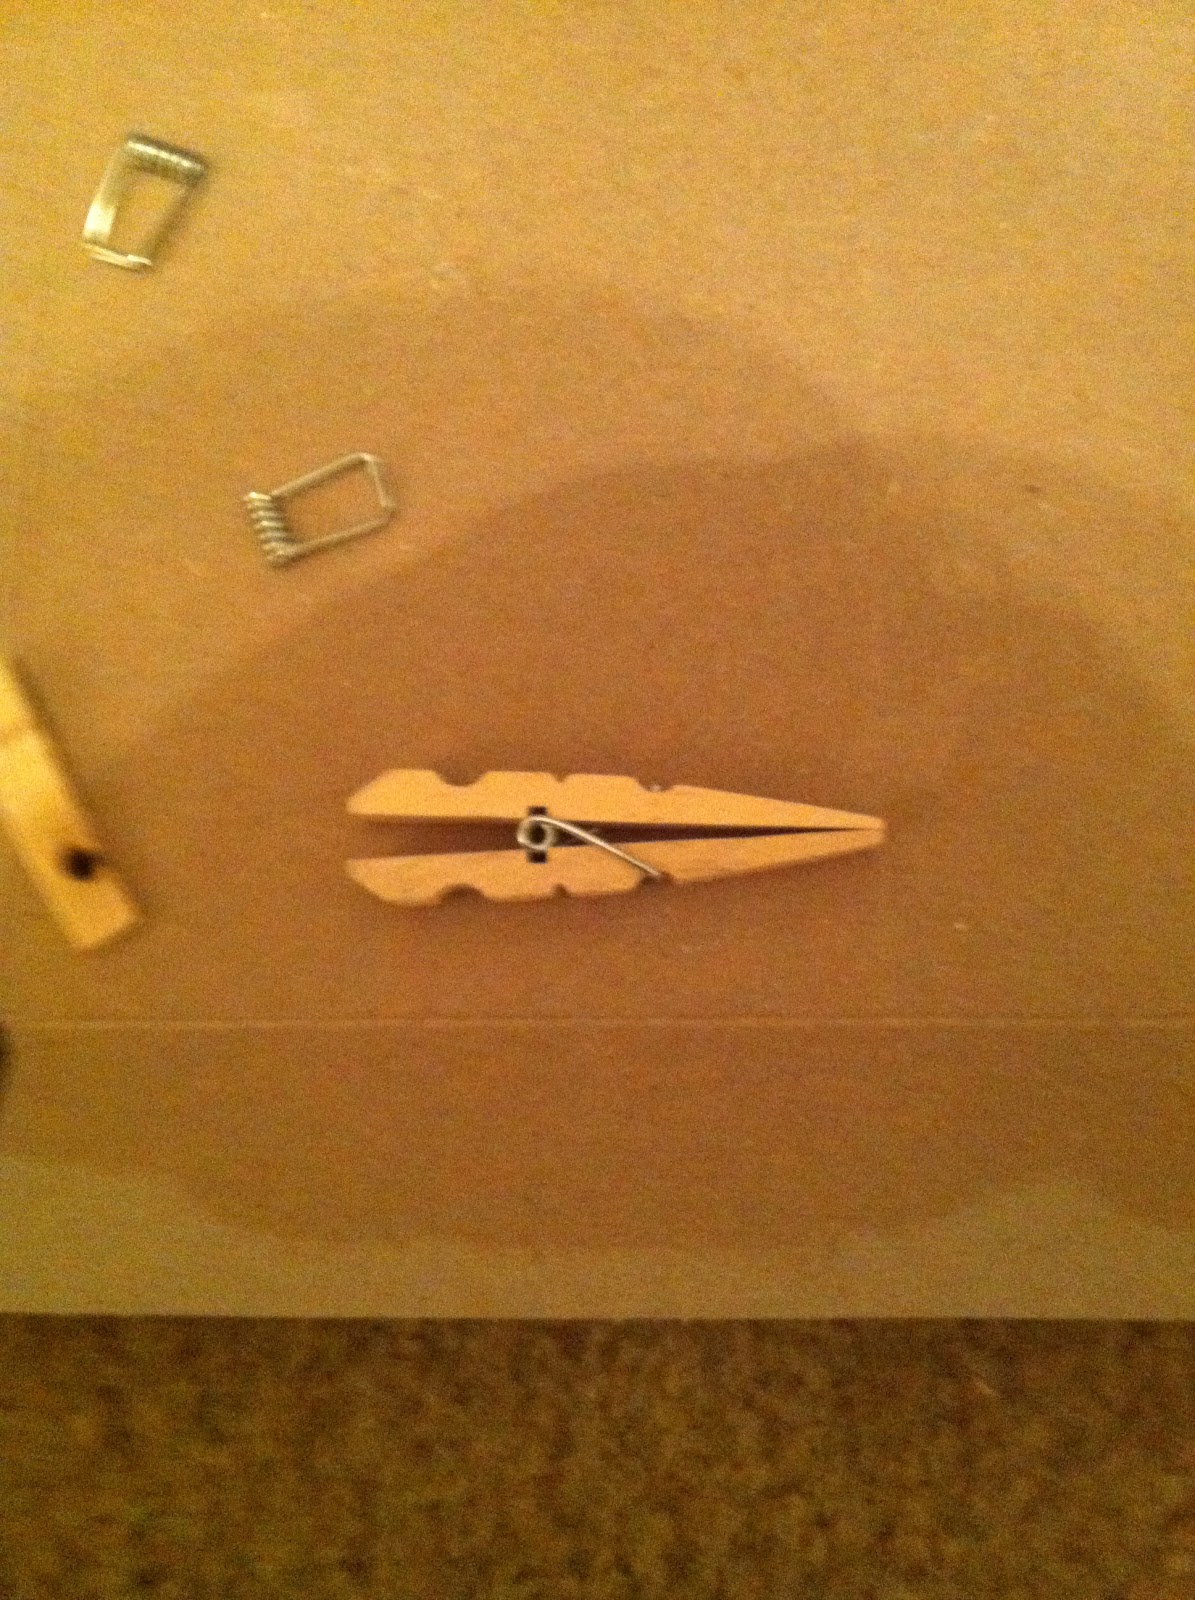
... and then reasseble it with the pieces reveresed. The spring will keep these
pieces together; I didn't glue them so that I could still open the mouth. :)
The spring also serves nicely as the eyes.
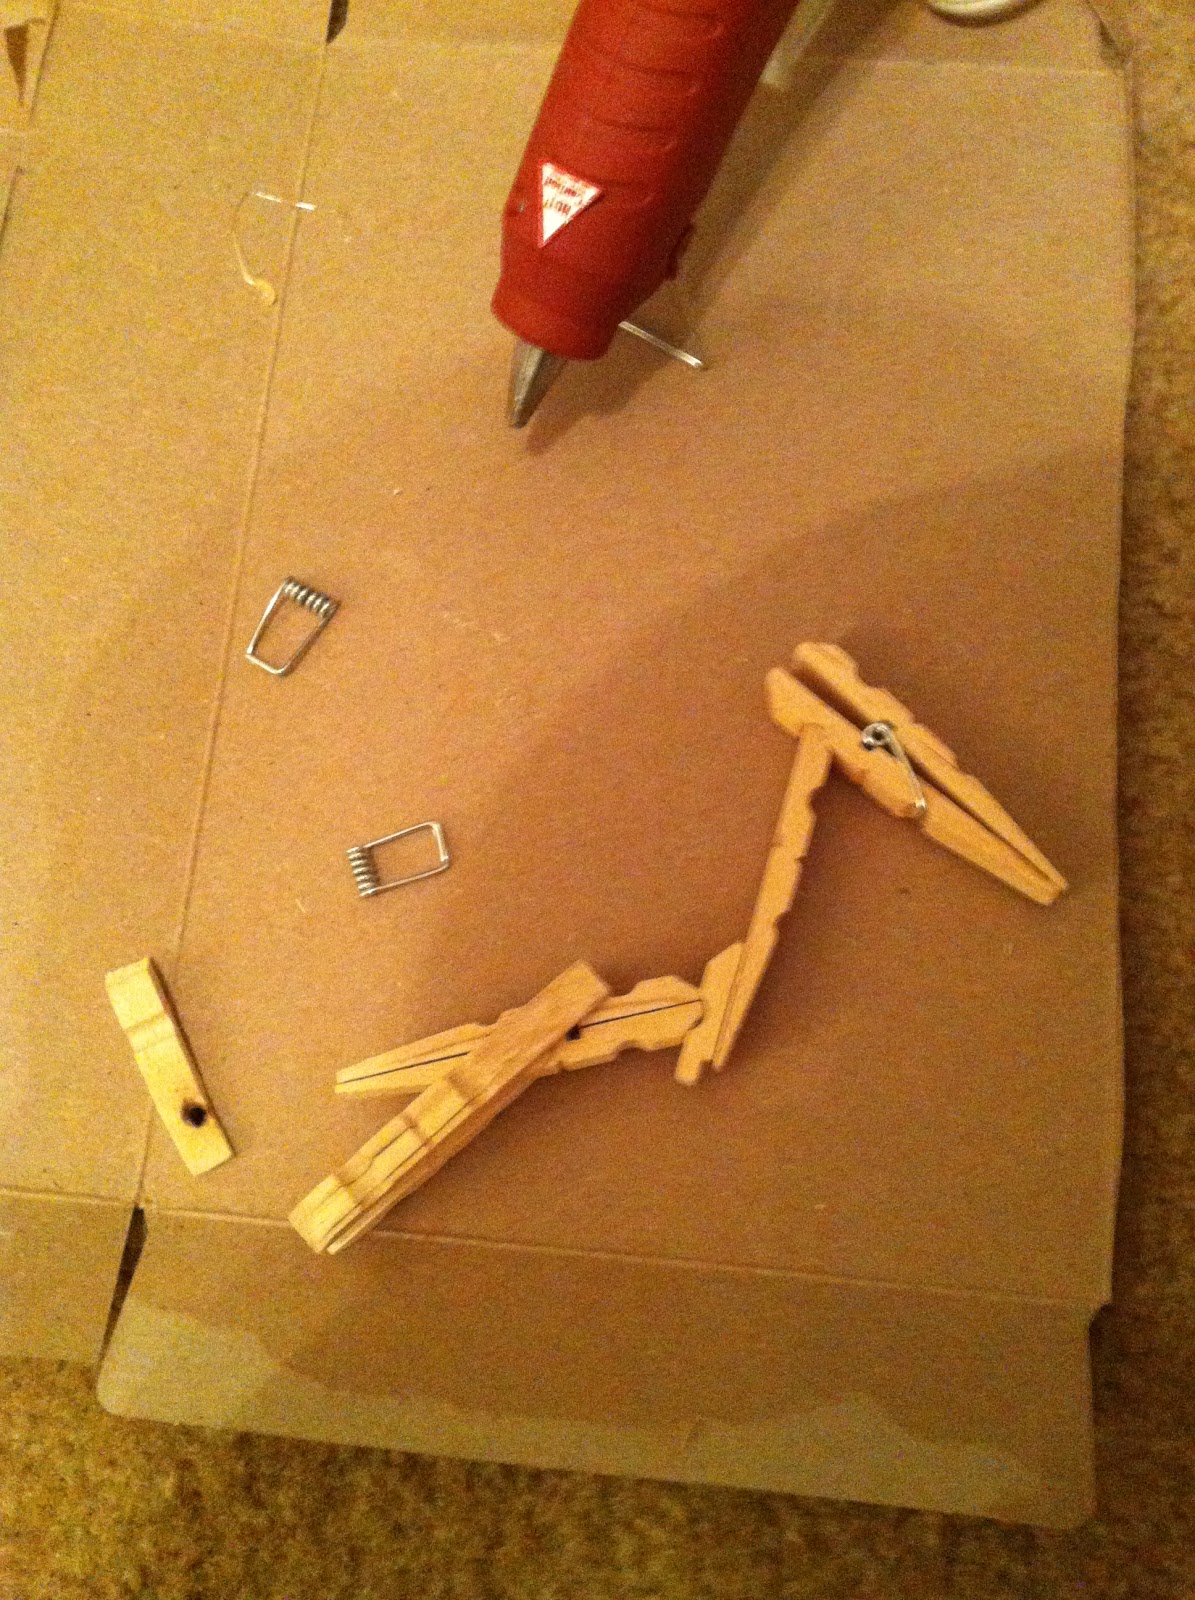
Next the body:
I skipped ahead a bit with this step; sorry, no pictures of earlier in the process.
Glue the neck to the head in the indent in the clothespin. Note that the neck attaches
to the body via a half of a clothespin that I snapped into a further half. The body is
constructed in the same manner as the head, but without the metal spring. Attach two
clothespins at a sharp angle at the back of the body for the legs, with most of the thinner
part attached to the body as shown.
And finally, the wings:
Attach the thick end of two halves of a clothespin at a very slight angle.
At this point, the body should be sloping backwards, and the arms should
appear longer than the legs.
For the second half of the wings, glue two clothespin halves together as shown.
Fun Fact: this part of a pterosaur wing is actually an elongated 4th finger!
The part that corresponds to our arms is the part you attached to the body in the
previous step.
Attach the thickest part of the finger section of the wing to the arms.
Another Fun Fact: Quetzalcoatlus had a wingspan the size of a small Cessna!
And there you go! Your very own miniature giant Azhdarchid pterosaur! As I look at it now, the proportion might have been more accurate if I'd used two clothespins for the arms rather than one, but oh well. Like I said, if anything isn't working for you, feel free to expirement as you see fit.
If you want your pterosaur as a skeleton, leave it as is. For an additional bit of flair, you can suggest a more fleshed out creature by experimenting with attaching cloth or something to the wing bones to more fully represent the wings. Whatever you do, have fun!
EDIT:
I realized some people may want to have a reference for what these things looked like in real life, so I'm including a picture below.